Hi again. Let's begin with the second part of this tutorial, this time it will be discused how to take the pics, and common mistakes made by hobby entusiasts.
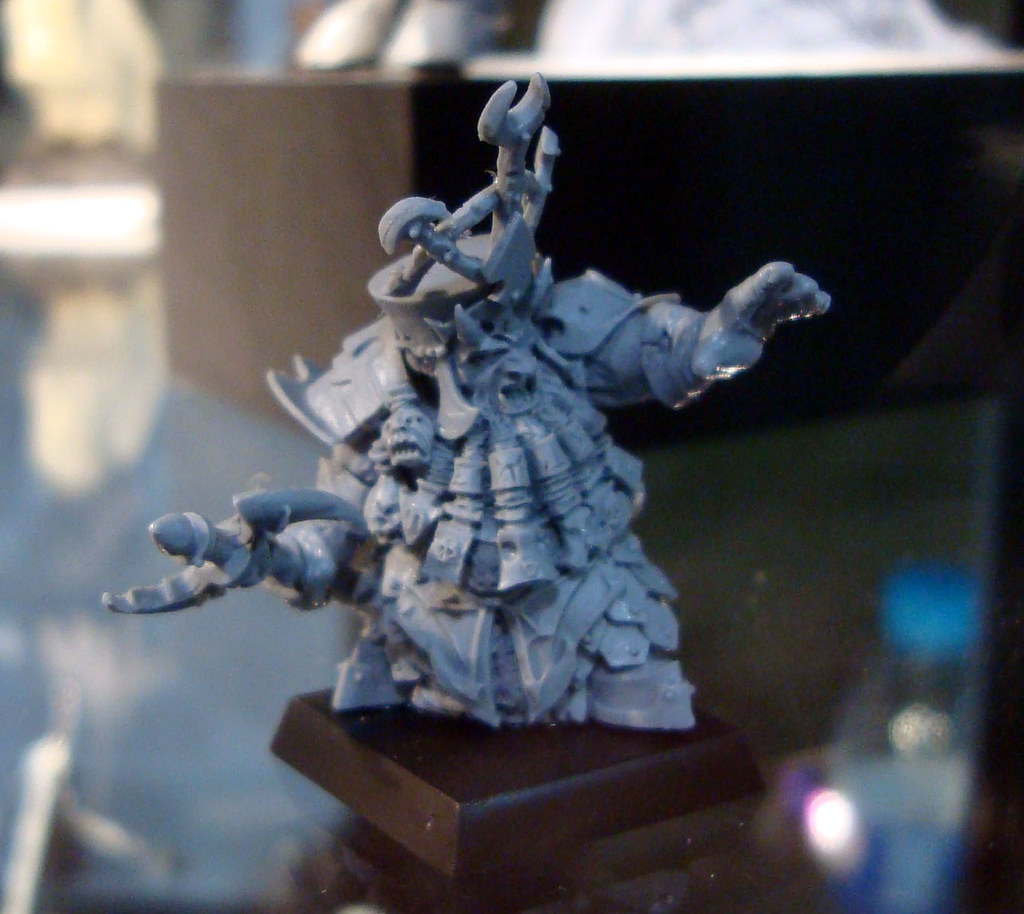
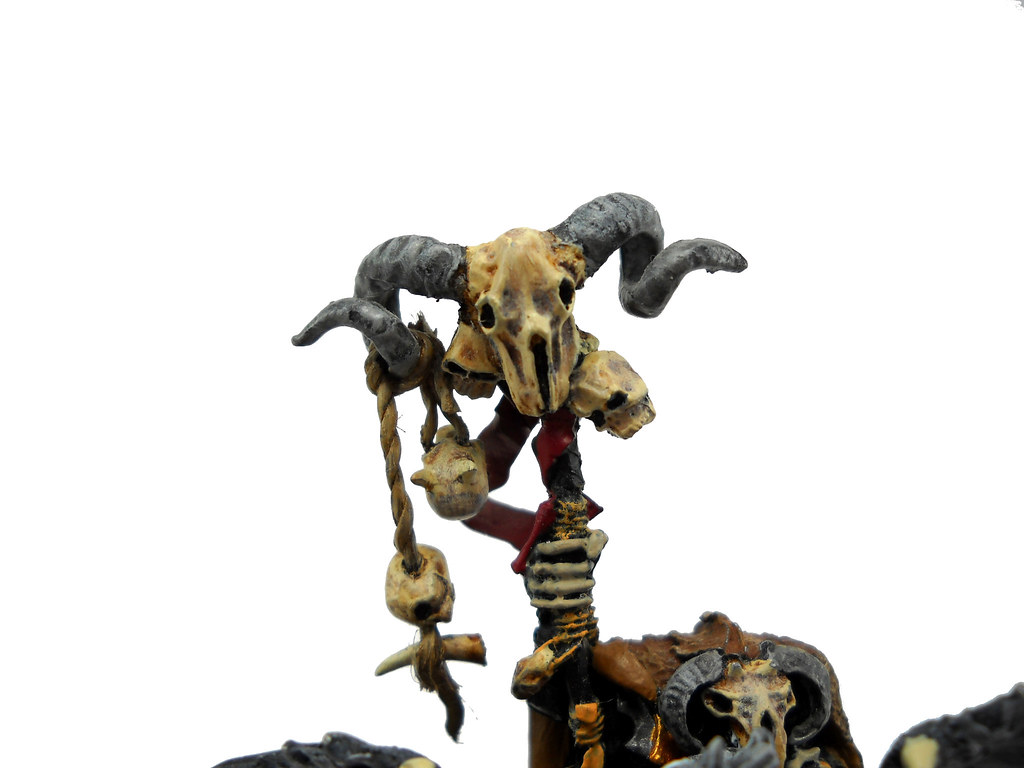
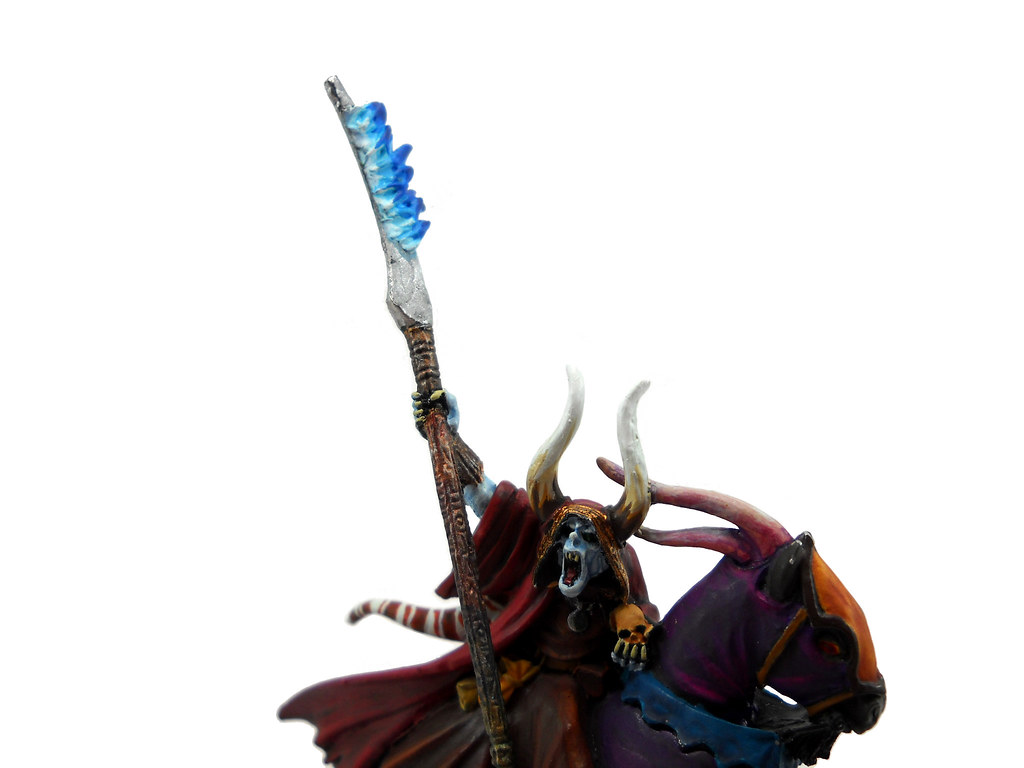
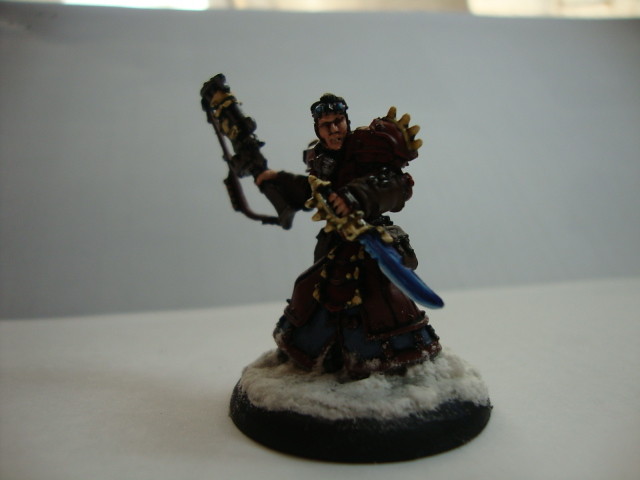
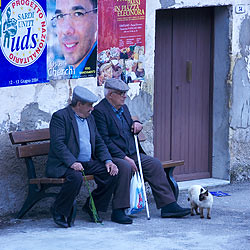
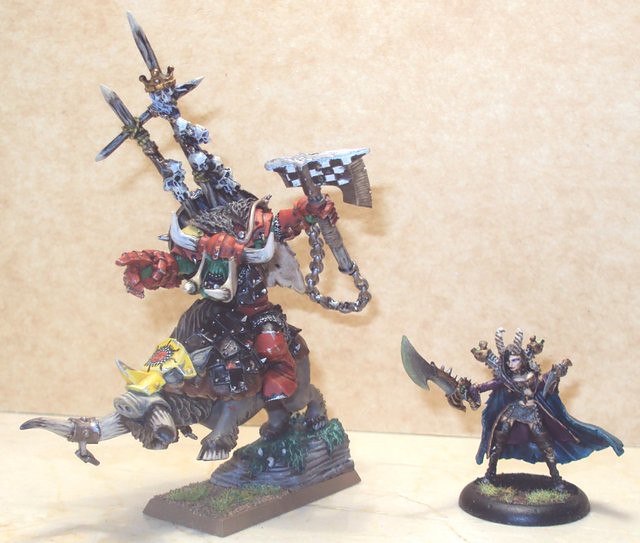
The idea, is to stop making this thing of pics...
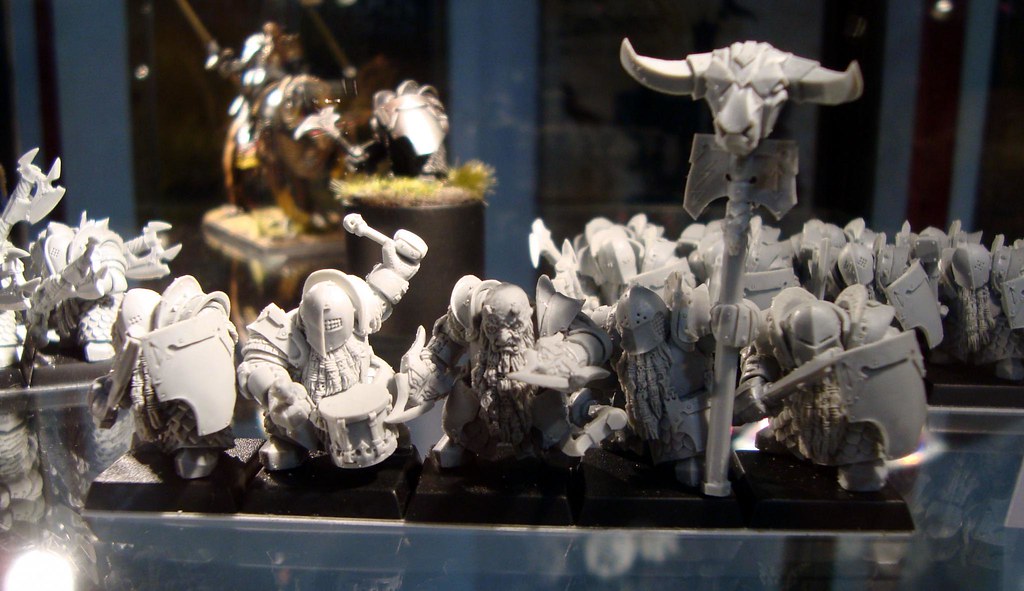
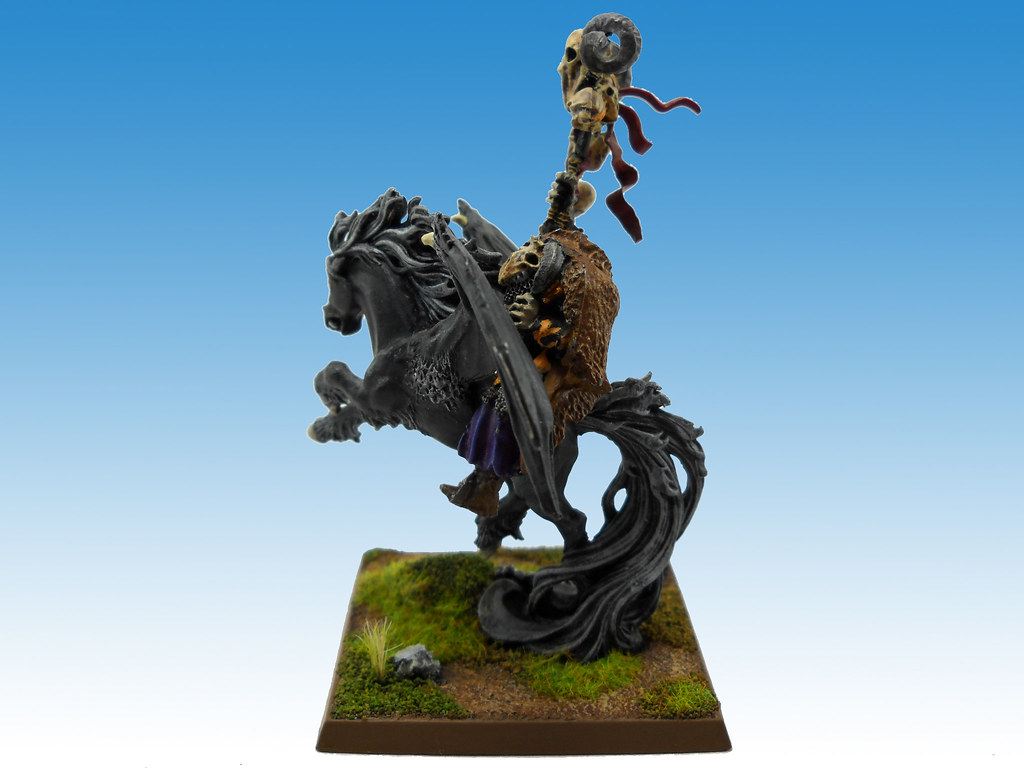
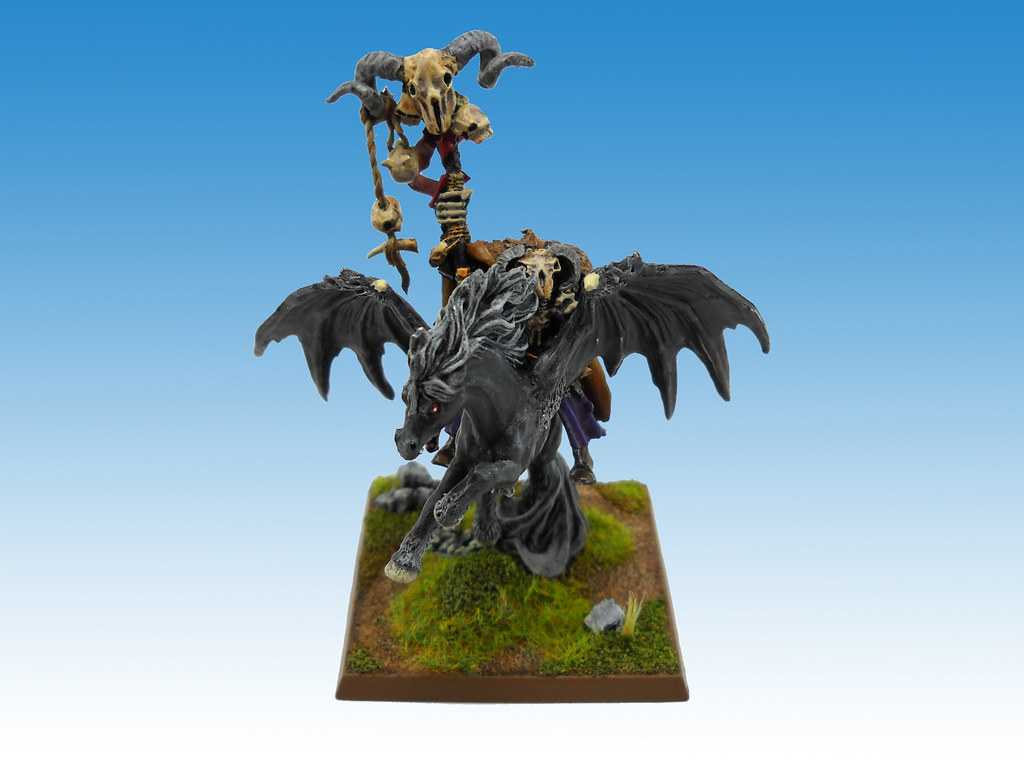
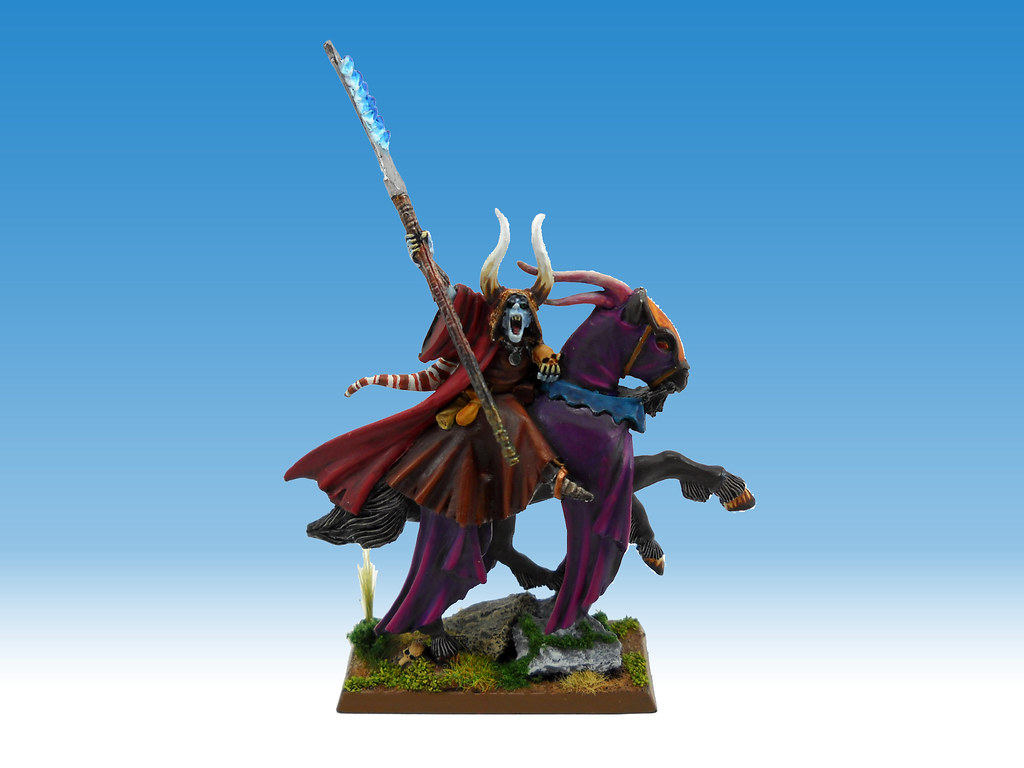
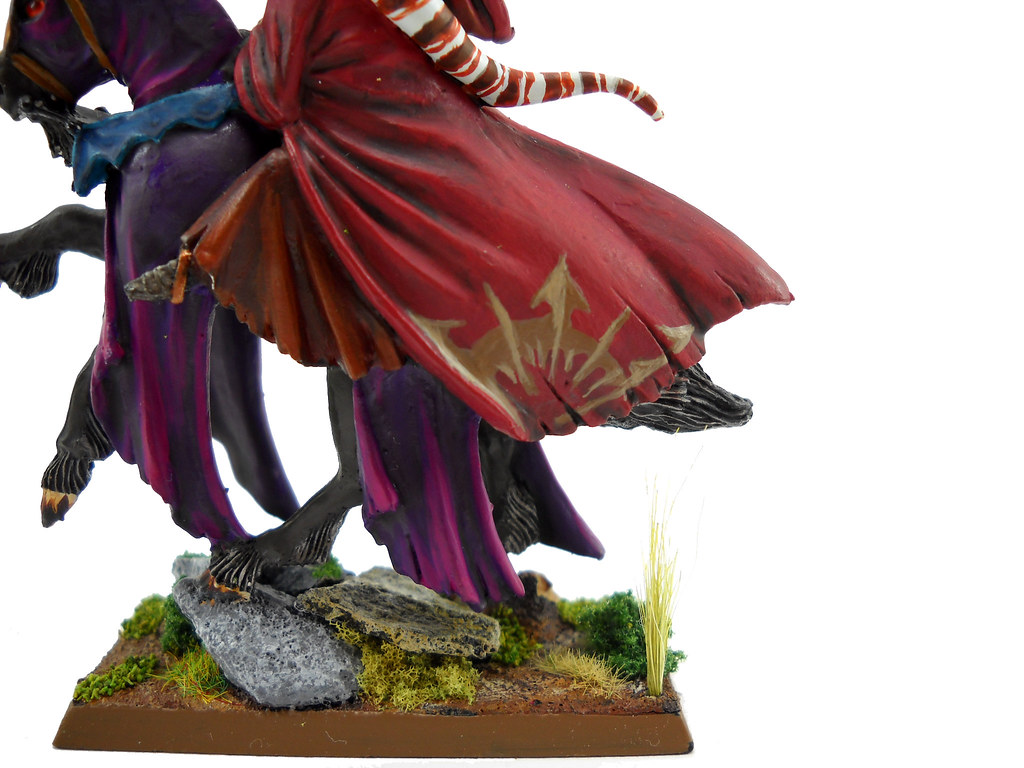
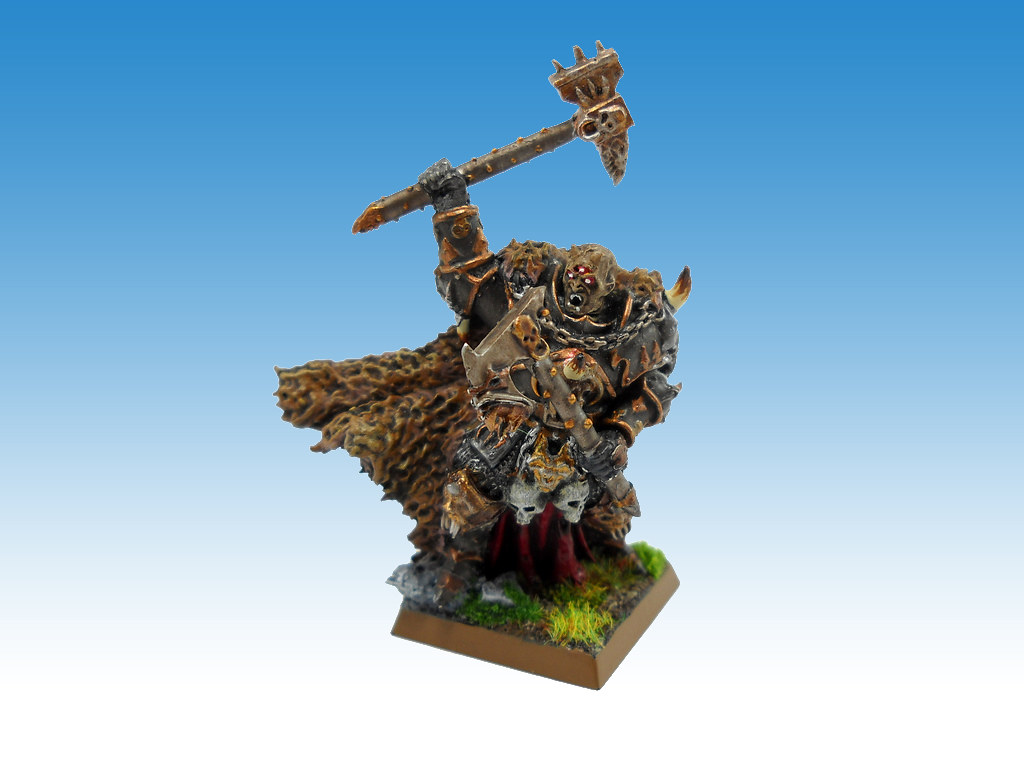
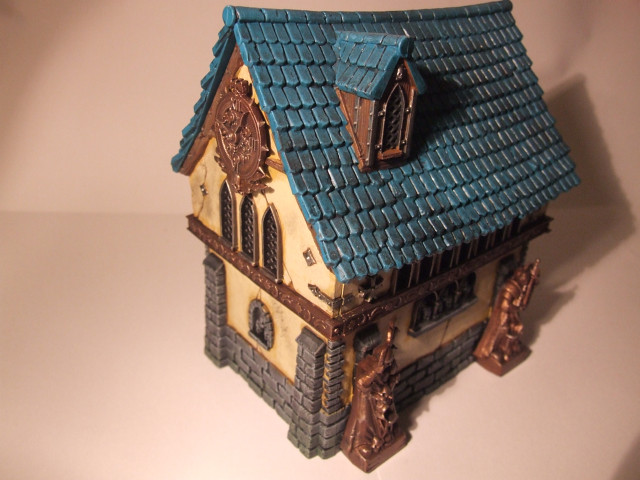
...and begin making this sort of pictures, to be able to edit them and get some awesome images to display.
First, let's understand what's
white balance (WB). Hopefully, you'll be lucky enough to have a (~50USD) digital camera with adjustable WB. If you don't, don't worry, you can compensate that with exposure compensation (xD).
So, what's WB? In few words, is the process of removing unrealistic color casts, so that objects which appear white in person are rendered white in your photo. Proper camera white balance has to take into account the "color temperature" of a light source, which refers to the relative warmth or coolness of white light. Our eyes are very good at judging what is white under different light sources, but digital cameras often have great difficulty with auto white balance (AWB) and can create unsightly blue, orange, or even green color casts. Understanding digital white balance can help you avoid these color casts, thereby improving your photos under a wider range of lighting conditions.
Blue, purple and grey casts:
Correct and incorrect WB:
Color temperature describes the spectrum of light which is radiated from a "blackbody" with that surface temperature. A blackbody is an object which absorbs all incident light neither reflecting it nor allowing it to pass through. A rough analogue of blackbody radiation in our day to day experience might be in heating a metal or stone: these are said to become "red hot" when they attain one temperature, and then "white hot" for even higher temperatures. Similarly, blackbodies at different temperatures also have varying color temperatures of "white light." Despite its name, light which may appear white does not necessarily contain an even distribution of colors across the visible spectrum.
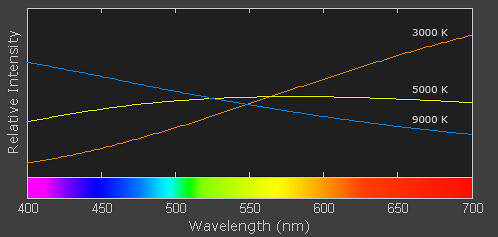
Note how 5000 K produces roughly neutral light, whereas 3000 K and 9000 K produce light spectrums which shift to contain more orange and blue wavelengths, respectively. As the color temperature rises, the color distribution becomes cooler. This may not seem intuitive, but results from the fact that shorter wavelengths contain light of higher energy.
Why is color temperature a useful description of light for photographers, if they never deal with true blackbodies? Fortunately, light sources such as daylight and tungsten bulbs closely mimic the distribution of light created by blackbodies, although others such as fluorescent and most commercial lighting depart from blackbodies significantly. Since photographers never use the term color temperature to refer to a true blackbody light source, the term is implied to be a "correlated color temperature" with a similarly colored blackbody. The following table is a rule-of-thumb guide to the correlated color temperature of some common light sources.
| Color Temperature | Light Source |
| 1000-2000 K | Candlelight |
| 2500-3500 K | Tungsten Bulb (household variety) |
| 3000-4000 K | Sunrise/Sunset (clear sky) |
| 4000-5000 K | Fluorescent Lamps |
| 5000-5500 K | Electronic Flash |
| 5000-6500 K | Daylight with Clear Sky (sun overhead) |
| 6500-8000 K | Moderately Overcast Sky |
| 9000-10000 K | Shade or Heavily Overcast Sky |
Since some light sources do not resemble blackbody radiators, white balance uses a second variable in addition to color temperature: the green-magenta shift. Adjusting the green-magenta shift is often unnecessary under ordinary daylight, however fluorescent and other artificial lighting may require significant green-magenta adjustments to the WB. Fortunately, most digital cameras contain a variety of preset white balances, so you do not have to deal with color temperature and green-magenta shift during the critical shot. These are commonly used symbols for each.

The first three white balances allow for a range of color temperatures. Auto white balance is available in all digital cameras and uses a best guess algorithm within a limited range usually between 3000/4000 K and 7000 K. Custom white balance allows you to take a picture of a known gray reference under the same lighting, and then set that as the white balance for future photos. With "Kelvin" you can set the color temperature over a broad range. If you can, set it manually. Try some shots with different temperatures, select one and then go ahead.
The remaining six white balances are listed in order of increasing color temperature, however many compact cameras do not include a shade white balance. Some cameras also include a "Fluorescent H" setting, which is designed to work in newer daylight-calibrated fluorescents.
The description and symbol for the above white balances are just rough estimates for the actual lighting they work best under. In fact, cloudy could be used in place of daylight depending on the time of day, elevation, or degree of haziness. In general, if your image appears too cool on your LCD screen preview (regardless of the setting), you can quickly increase the color temperature by selecting a symbol further down on the list above. If the image is still too cool (or warm if going the other direction), you can resort to manually entering a temperature in the Kelvin setting. If you are lucky, maybe your camera hasn't these options, but gives you the choice of saving the pics in RAW files. If your camera supports them, you can set up the WB after the pics are taken.
Well, what to do if you only have AWB? (My previous camera was that way!) Then let's play with
exposure compensation (EC)! Exposure Compensation is a feature of a camera that allows you to adjust the exposure measured by its light meter. Usually, the range of adjustment goes from +2 to -2 EV in 1/3 steps. This means that you can adjust the exposure measured by the light meter by telling the camera to allow more light in (positive exposure compensation) or to allow less light in (negative exposure compensation). Technically, you could take note of the exposure measured by the light meter, and then switch to Manual mode and adjust it manually yourself.
The best advices I can give (with my limited knowledge) are 1) set the exposure compensation manually before taking the real pics, view them at your PC and then choose the best setting; or 2) turn ON Automatic Exposure Bracketing (AEB). Many digital cameras now include Automatic Exposure Bracketing (AEB) where the camera will take the three shots with one press of the shutter release button: one at the camera measured exposure, a second at a negative exposure compensation (usually -1/3 EV, though some cameras allow you to specify the amount), and a third at a positive exposure compensation (usually +1/3 EV, though some cameras allow you to specify the amount). The normal 100USD cameras don't bring this option, so, let's go a bit deeper about the first advice.
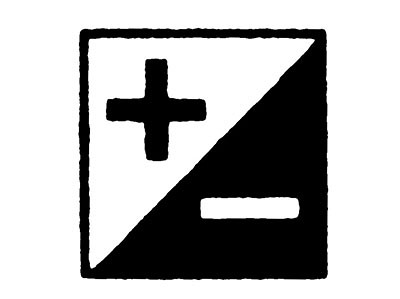
When having your lightbox ready with your miniature, turn ON the programm exposure mode (designated by letter P). The Exposure Compensation button or menu choice is usually marked by a square containing a plus and a minus symbol. Some cameras, though, just display "0.0" on the LCD screen. Check your camera manual for the specifics.
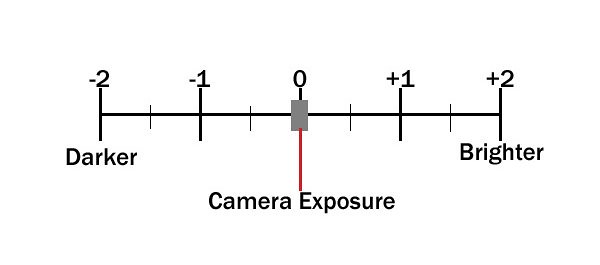
Turning on the Exposure Compensation button or menu choice displays a sort of "ruler" with zero in the middle and numbers on either side. A marker appears under the zero, which stands for the normal exposure your camera gives the picture. Using the arrow keys or a dial on the back of the camera, you can move this marker to a different position on the ruler.
Moving the marker to the "plus" side of zero makes your picture brighter. Placing the marker under +1 makes the image twice as bright as a normal exposure.Moving the marker to the "minus" side of zero makes your picture darker. Placing the marker under -1 makes the image twice as dark as a normal exposure.
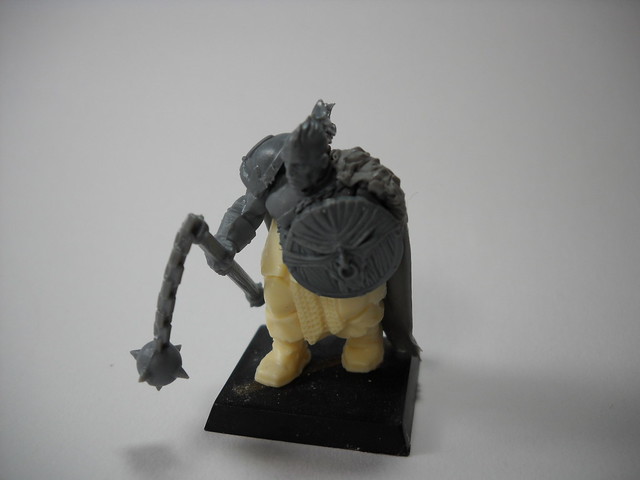
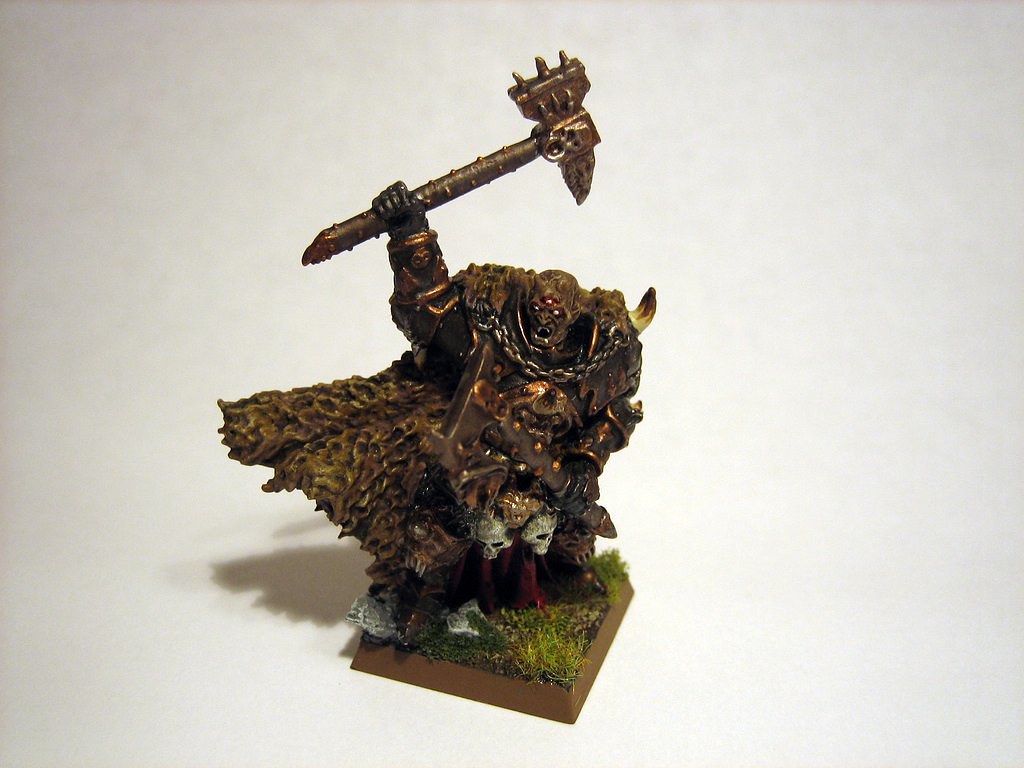
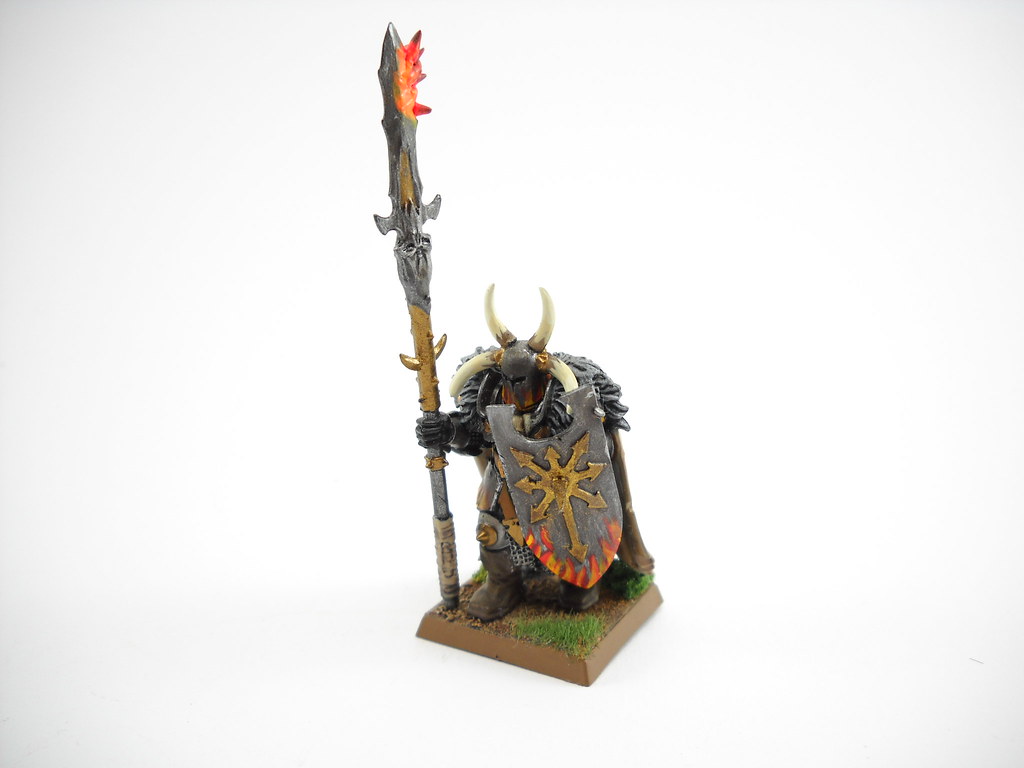
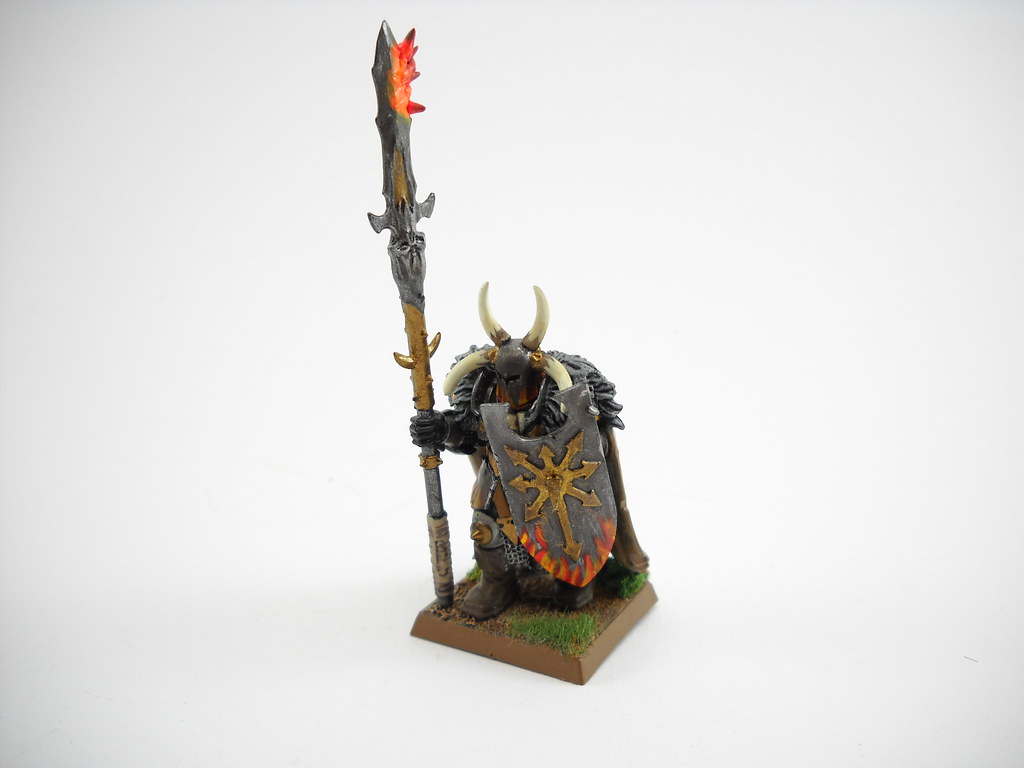
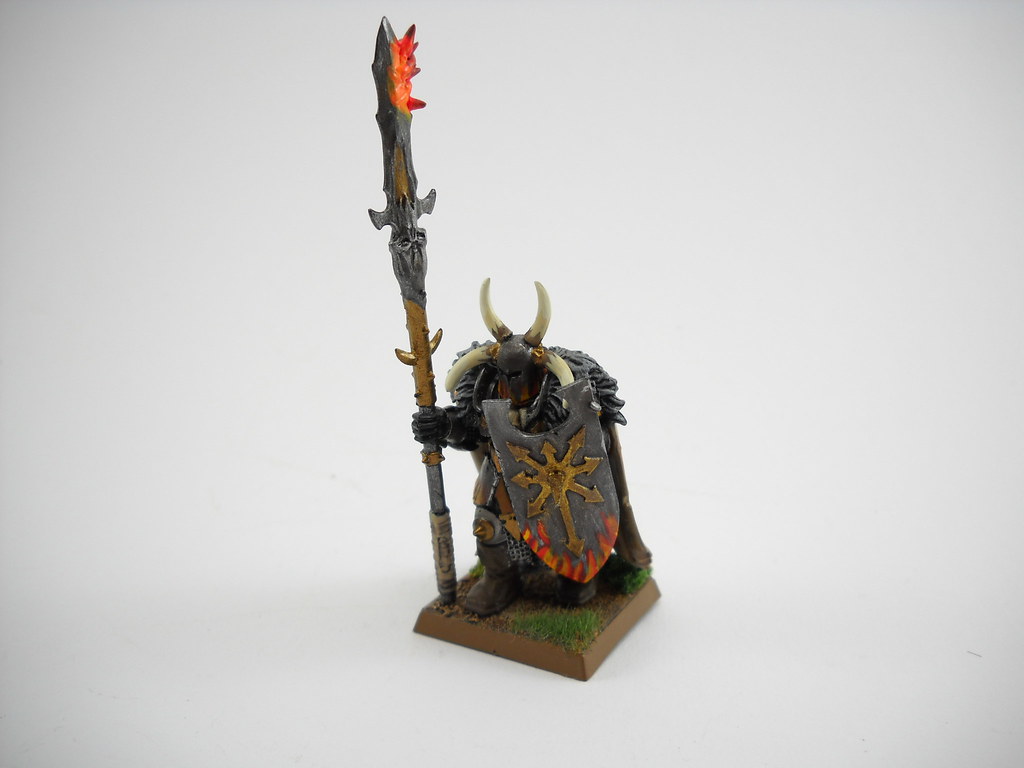
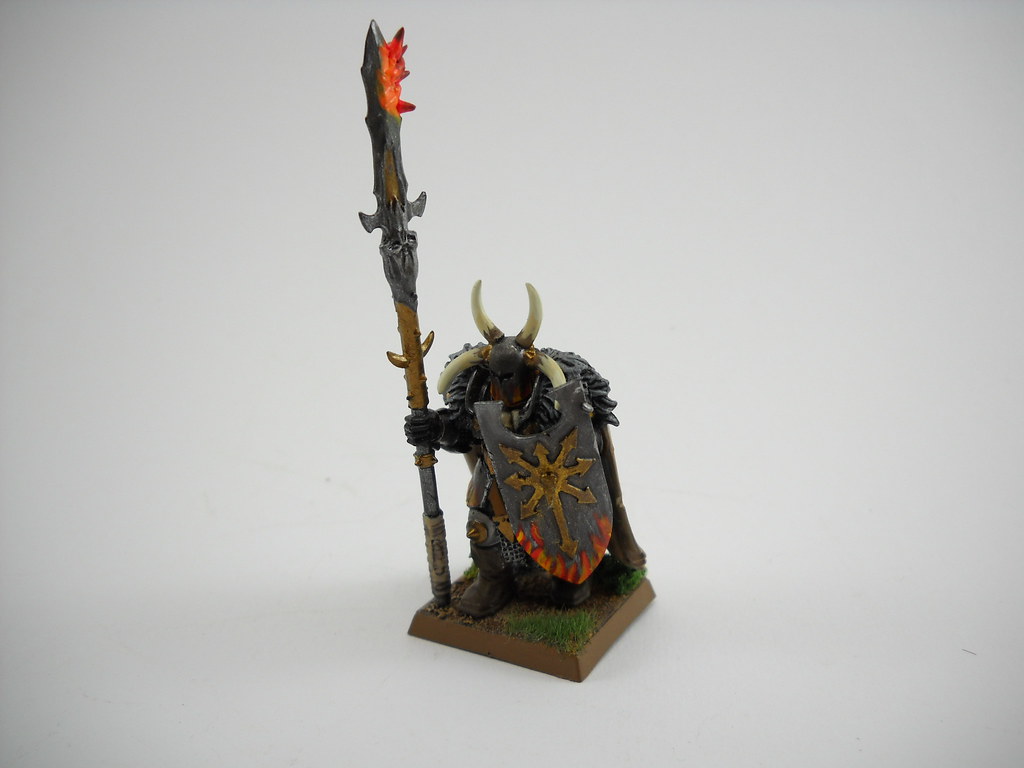
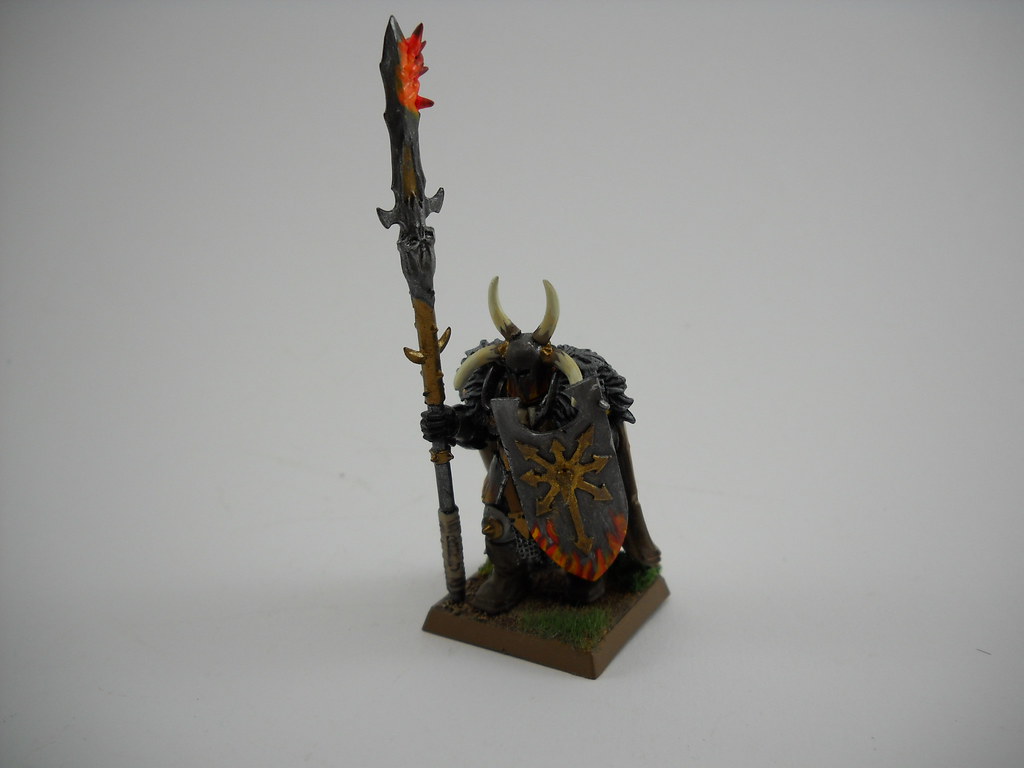
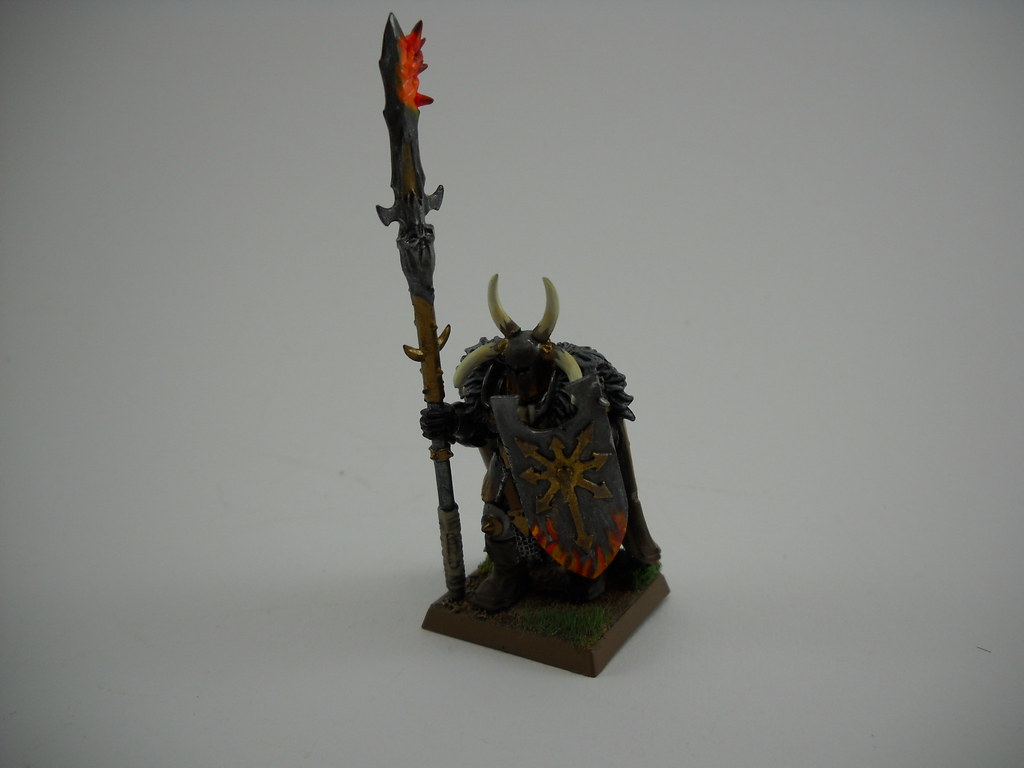
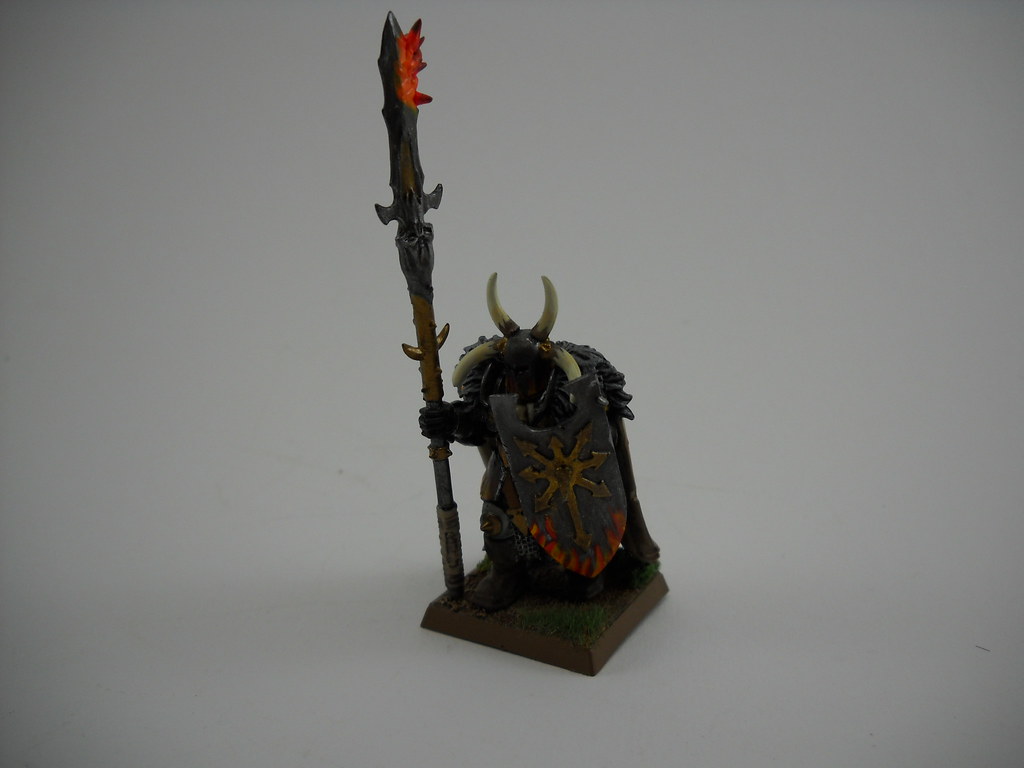
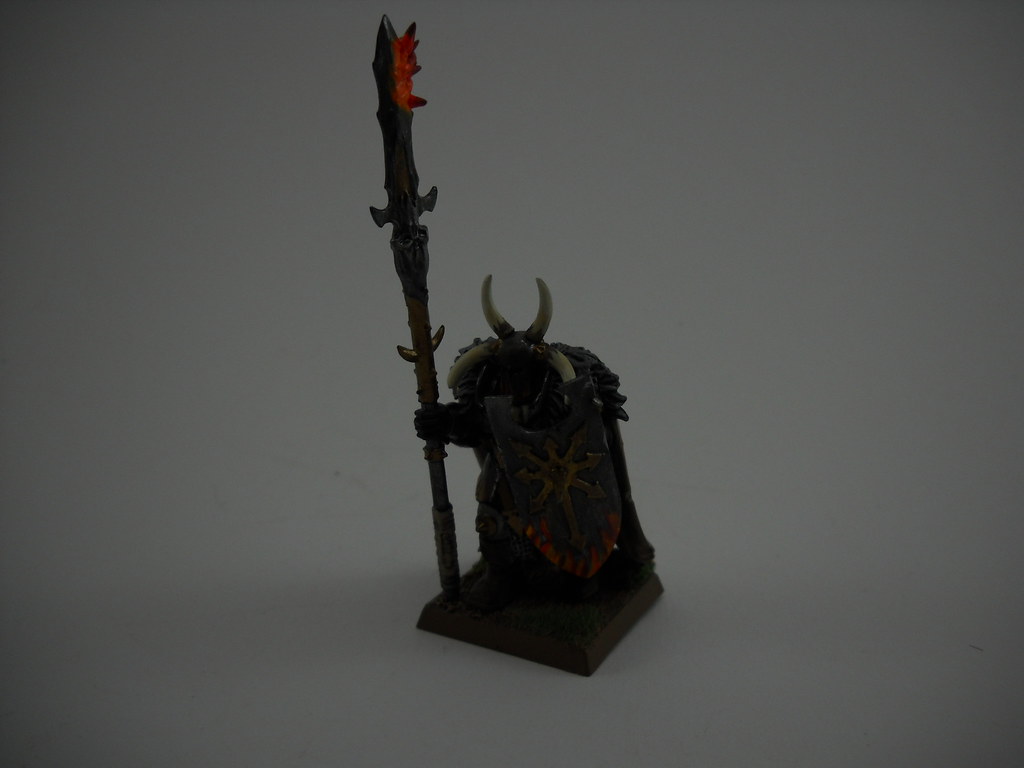
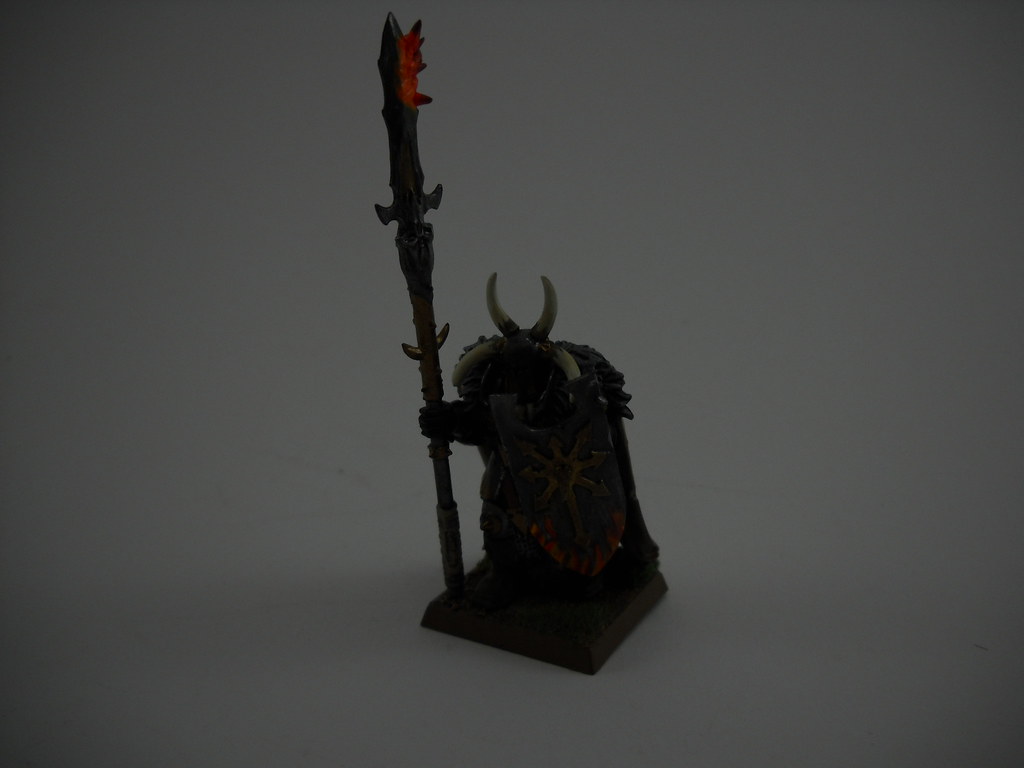
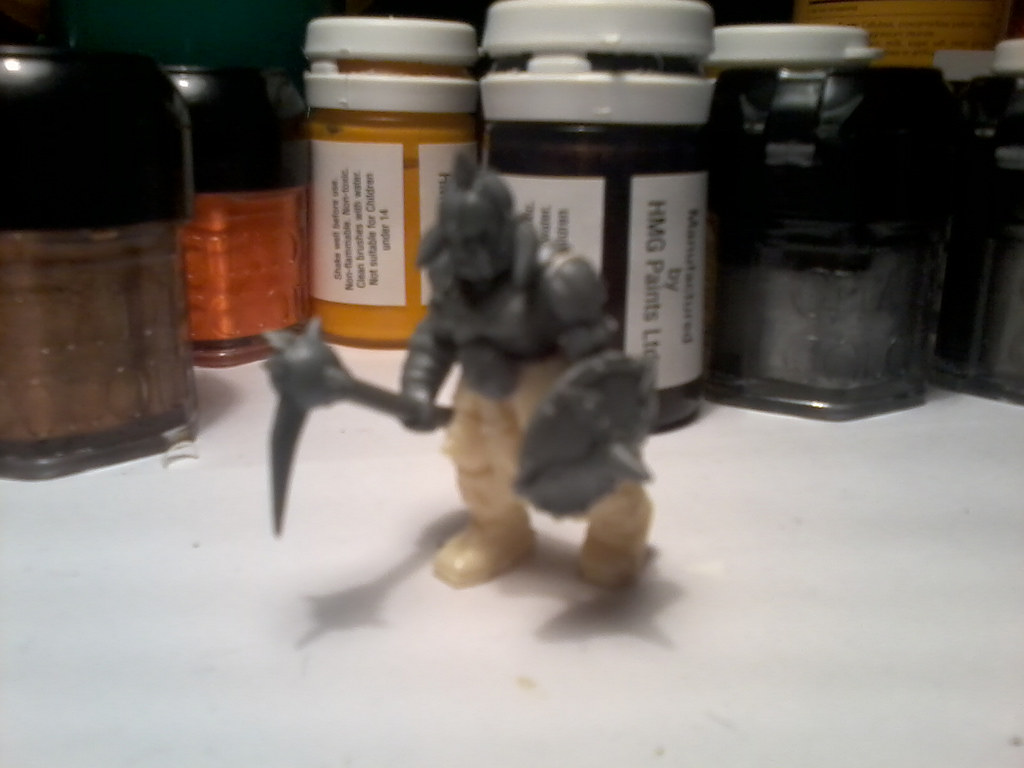
Below you can see how changing the exposure compensation control affects the brightness of my Chaos Warrior with Halberd:
(those are DIFFERENT PICS, using different EC in each)
+2 EV
+1,7 EV
+1,3 EV
+1 EV
+0,7 EV
+0,3 EV
0
-0,3 EV
-0,7 EV
-1 EV
-1,3 EV
-1,7 EV
-2 EV
With my lightbox and my setup ready, I decided that the best option for me this time is to set up the EC to +1EV. Now I'll take all the pics I need from that model, with the chosen setup (lamps, bulbs, position of the miniature, of the light sources) using EC +1.
Doing this "tedious" process (that only consumes 1 minute, and will help you to make nice pics), you'll avoid the underexposure and overexposure that are SO common in the miniature photgraphy.
Now, to finish this large wall of text and chaotic information, let me give you the last advices I have in mind to improve your photography skills.
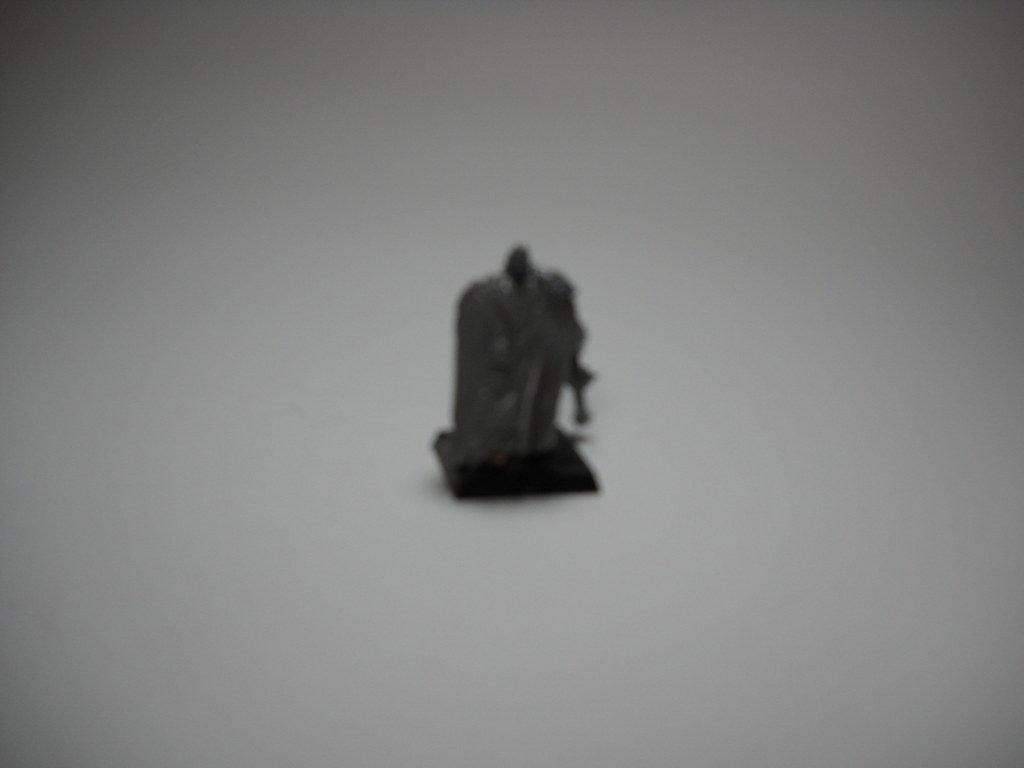
Avoid having lines from bended paper, fabric or background. It will ruin your pic almost instantly, because the camera will have "more and different whites" to process. If you see, the upper part of the background shows a kind of white (pretty brownish, but doesn't matter for this example) and the lower part, looks different. Why, if both parts are from a single piece of paper? That's because of the light inciding in different angles and being reflected in different angles too. Try to use curved paper, block or fabric as background.
Avoid cellphone pictures if you are going to publish them. Really, they are not intended for this purpose. And let the tidy backgrounded images JUST for WIP shots. (I even regret having post some cellphone-pics, regarding being WIP shots)
Set up you light sources carefully. I've already suggested my favourites bulbs, but, how to set up them? Easy! The lateral ones should be on the same axis of the miniature. The upper light should be over the miniature (OH RLY? xD) but just between the camera and the object.
Never, ever, use flash to photography your minis. This will cause more shadows (that you should be avoiding!). The light produced by the flash it's just too much for miniature photography. Just give exposure compensation a try and you'll not want to try flashing your minis again. This will be specially useful for photography black, white and greyish miniatures.
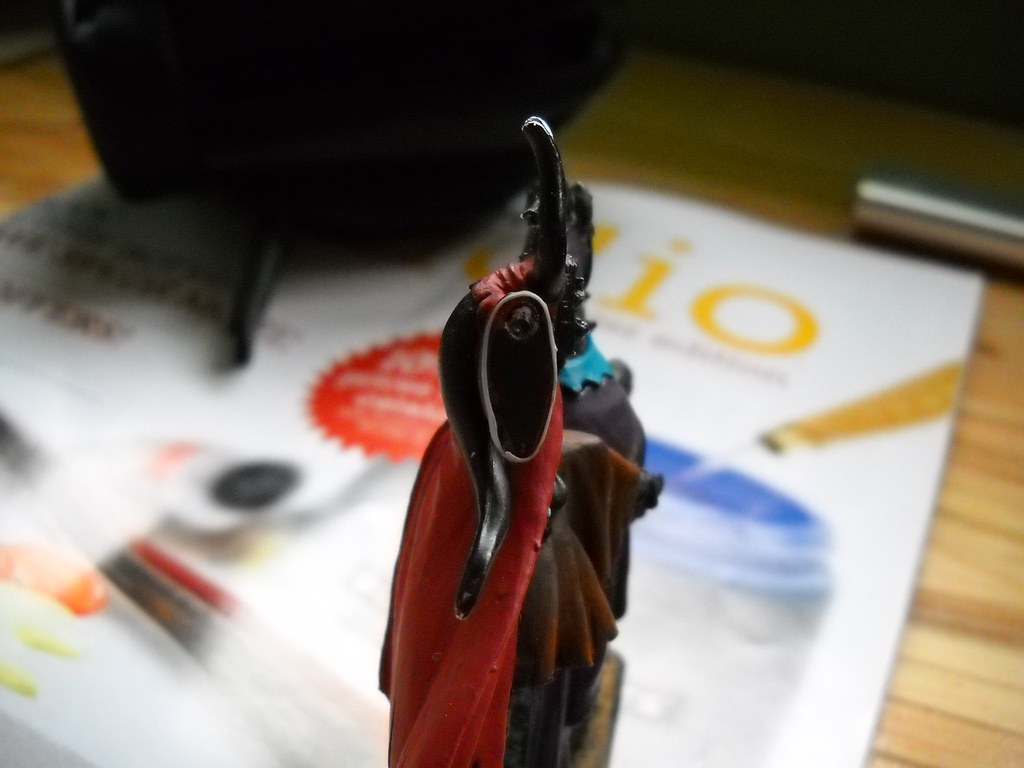
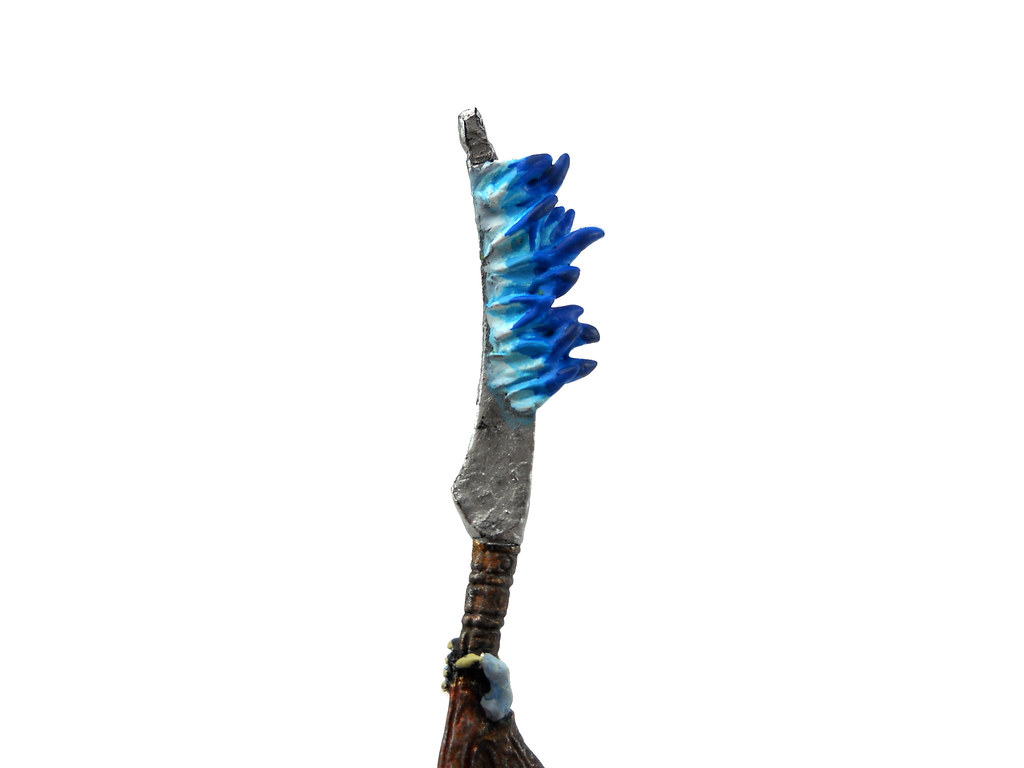
And finally, activate the macro mode! I think most of you know what the macro mode is (that's why I forgot to mention this in the first instance xD), but anyways...
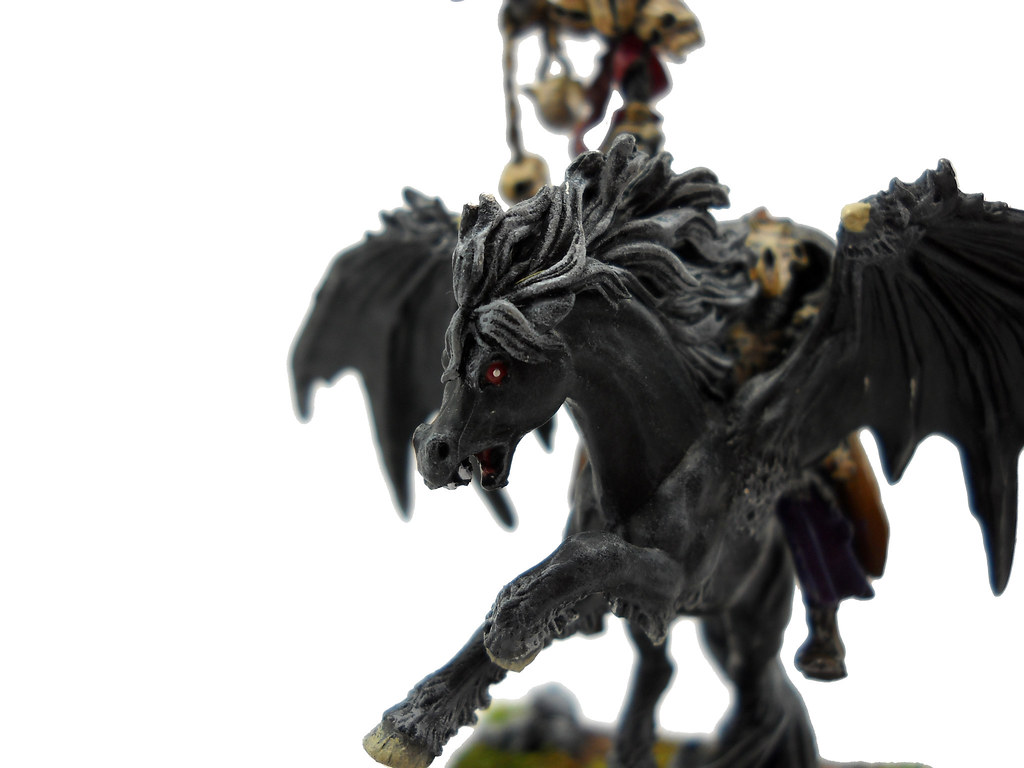
Macro and close-up photography can take the viewer to new and seldom seen vantage points. However, macro photography also often demands more careful attention to photographic technique and camera shake. When you magnify a subject, you also magnify movements caused by camera shake. Furthermore, small variations in camera position can also make huge differences in subject composition. It's therefore critical to either experiment with what you're capable of capturing hand-held, or to just always use a camera tripod. I strongly recommend having a small and cheap tripod (mine costed 3USD) and for even better results, try using your camera self-timer mode, or even a remote switch. These pics are fast made examples of the macro mode off and on.
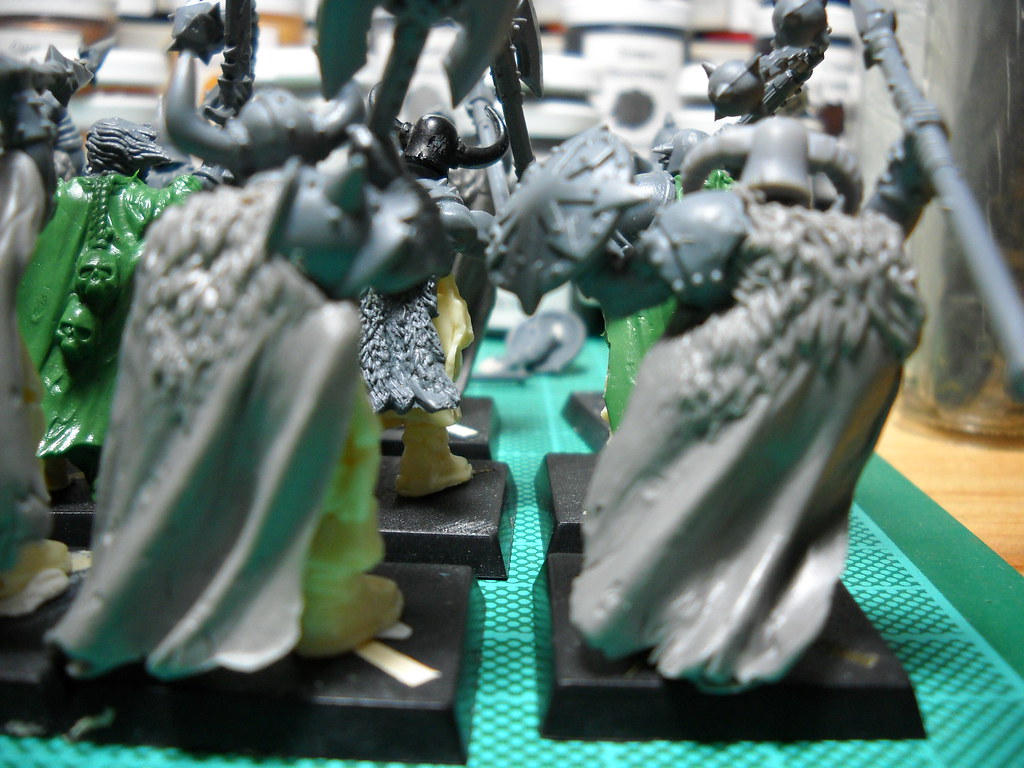
Photos at high magnification have a correspondingly shallow depth of field. Precisely controlling the location of focus is therefore much more important than normal. This requires both artistic decisions about what should be in sharpest focus, but also technical decisions about how to make the most of this sharpness. The first pic illustrates the focus, badly located (focusing the 2nd rank of Chaos Marauders).
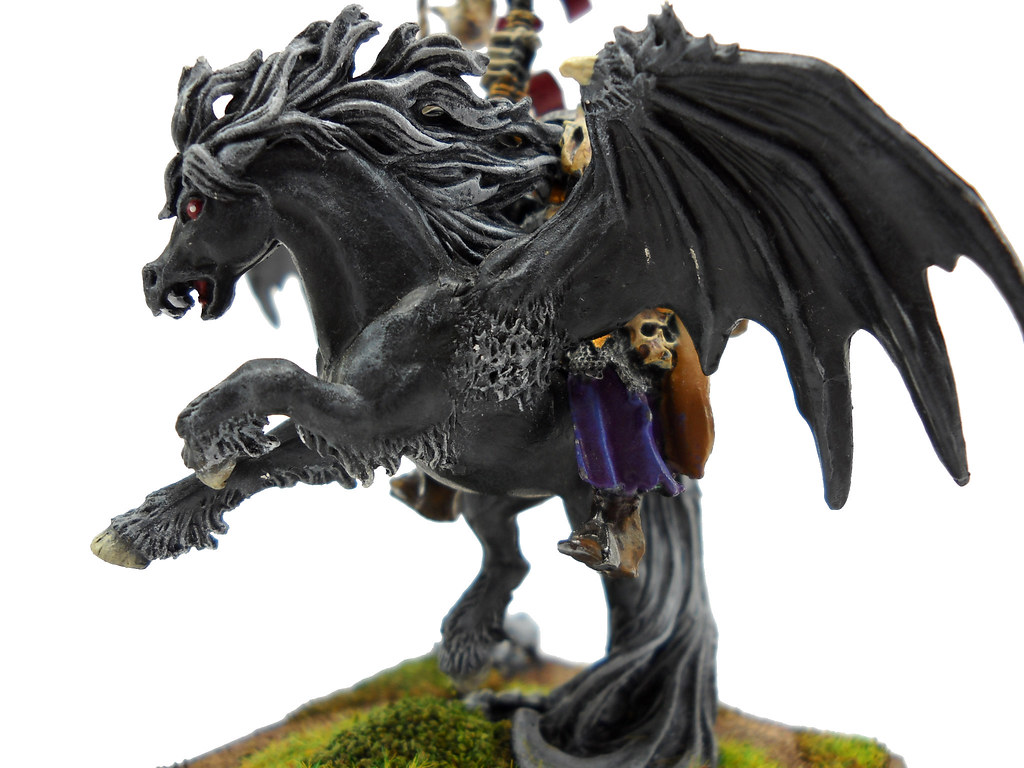
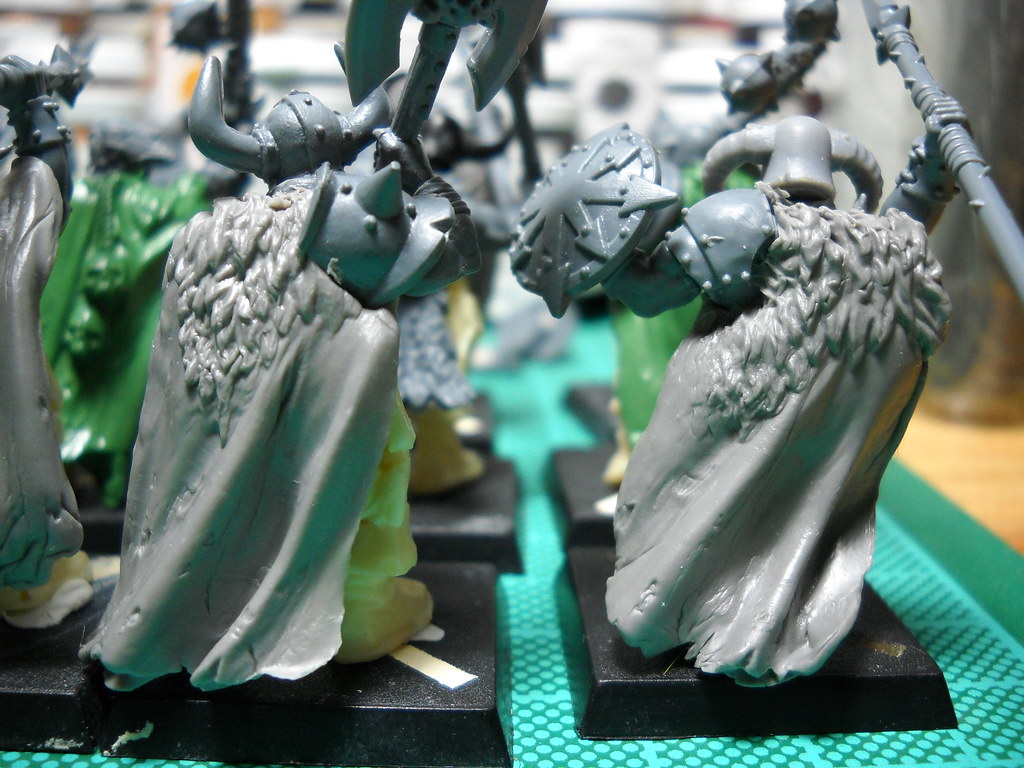
In the second, the location of the focus is set to the cloaks and shoulders of the Marauders.
Well, I'm already sorry for having bored you so much. Didn't want to make this part SO long, but I thought some basic concepts should be included. I really hope you can improve your miniature photography a little. If you can improve them just a little bit using some of this information, I would feel already paid and honoured.
As always, comments, critics and questions are welcomed!
See ya soon, with the final part of this tutorial! (I promise it won't be this long xD I hope I can learn to make a little video to explain how to finish and add background to the pics using PS, faster than this epic long entry!)
PS: Please. To the owners of the above shown pics, PLEASE don't feel offended. I just selected some random pics to show some common mistakes. I tried to use every single pic I had, but weren't enough. If you want your pic to be removed, just drop me an e-mail and I'll do it instantly. ;D
EDIT: Added small paragraph about macro. Thanks to
N810 for ponting me
that I've completely forgot to mention it xD


